Meet Victor Coll, a seasoned expert in the art of in-bound content marketing. With a proven track record in crafting winning content strategies, Victor excels in attracting and engaging audiences organically. His proficiency extends to optimizing content for maximum impact, resulting in increased brand visibility and audience retention. Victor's dedication to the art of in-bound content marketing has helped businesses achieve remarkable growth. Join him as he shares invaluable insights and strategies to empower your content marketing efforts and drive meaningful connections with your target audience.
The Do’s and Don’ts of Real Estate Photography
WHY PAY MORE?
Want us to photograph you property? We would love to hear from you!
We will get back to you as soon as possible.
Please try again later.
What makes a great real estate listing? Simple – outstanding real estate photography . In this competitive market, where many homes offer similar features and layouts, it’s the quality of a listing’s images that will grab a buyer’s attention.
Today, the average buyer spends 60% of their time online looking at a listing’s photos, and only about 20% on the listing details. While most people understand great real estate photography is essential, very few understand how to create it.
With that in mind, here are a few critical dos and don’ts to keep in mind for real estate photography:
The Do’s of Real Estate Photography
Whether you’re DIYing your photography or hiring a professional real estate photography company to do it for you, here are a few tips to get beautiful real estate shots every single time:
1. Use a Wide-Angle Lens
When a would-be buyer browses online listings, they want to view an entire room in one single image. To help facilitate this, snap pictures with a wide-angle lens or fisheye lens. These styles of lens capture a broader image and will make all the difference when it comes to interior home shots. Keep in mind that there is a difference between a wide-angle lens and a fish-eye lens .
A fisheye lens is a special type of ultra-wide angle lens. The difference lies in the barrel distortion. Fisheye lens give a spherical view of the world, u sually differentiated by the extreme rectilinear distortion, wide angle lenses exhibit some barrel distortion but the fisheye lens is extreme in that the verticals on the edge visibly bend to the middle. Fisheye shots range from about 130° to 180° and takes practice. Mistakenly taking pictures of your hands holding the camera and your feet can be a common occurrence. .
Wide angle lens are used in single lens reflex cameras. Wide angle lens provide great field depth, making it easier to focus background and foreground in one shot. Wide angle lenses are great for confined spaces and group shot close-ups. Wide angle lens are usually around 24 mm to 35 mm.
2. Let the Light in
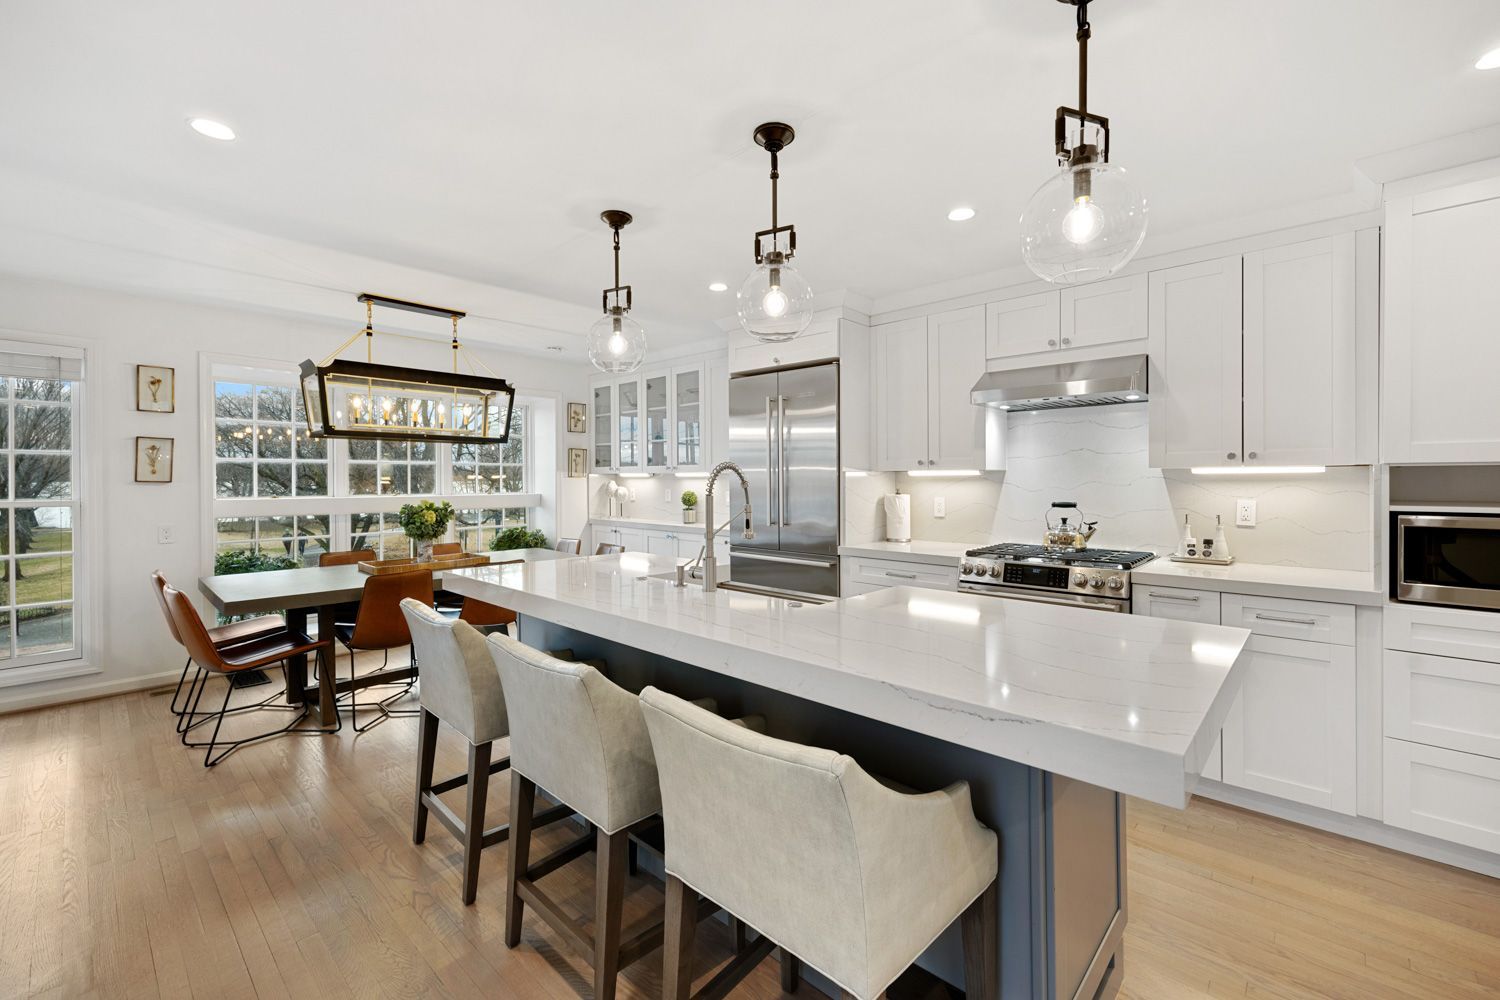
Great lighting can make the shot. Luckily, you don’t have to invest in expensive lights and reflector setups to get it. Instead, allow as much natural light as possible into the space. Pull back curtains, open blinds, turn on all the interior lights, and open windows before you shoot. This helps make the room feel light and airy.
3. Use a Tripod
No matter what you do, do not try to take real estate photos with a handheld camera or smartphone. Instead, invest in a durable tripod to create crisp, clear images. This is especially important for taking beautiful pictures in low-light settings or windowless rooms. It’s also essential for low-light or twilight photography , which is an excellent way to showcase the structure and setting of the home and make it feel as welcoming as possible.
4. Capture Views
To give a would-be buyer a real feel for the property, be sure to capture the views wherever they exist. This means snapping a picture of the backyard, any sweeping views from windows or decks, and wide-angle property photos that showcase special features, outbuildings, or anything else that makes the property unique.
5. Consider Aerial Photography
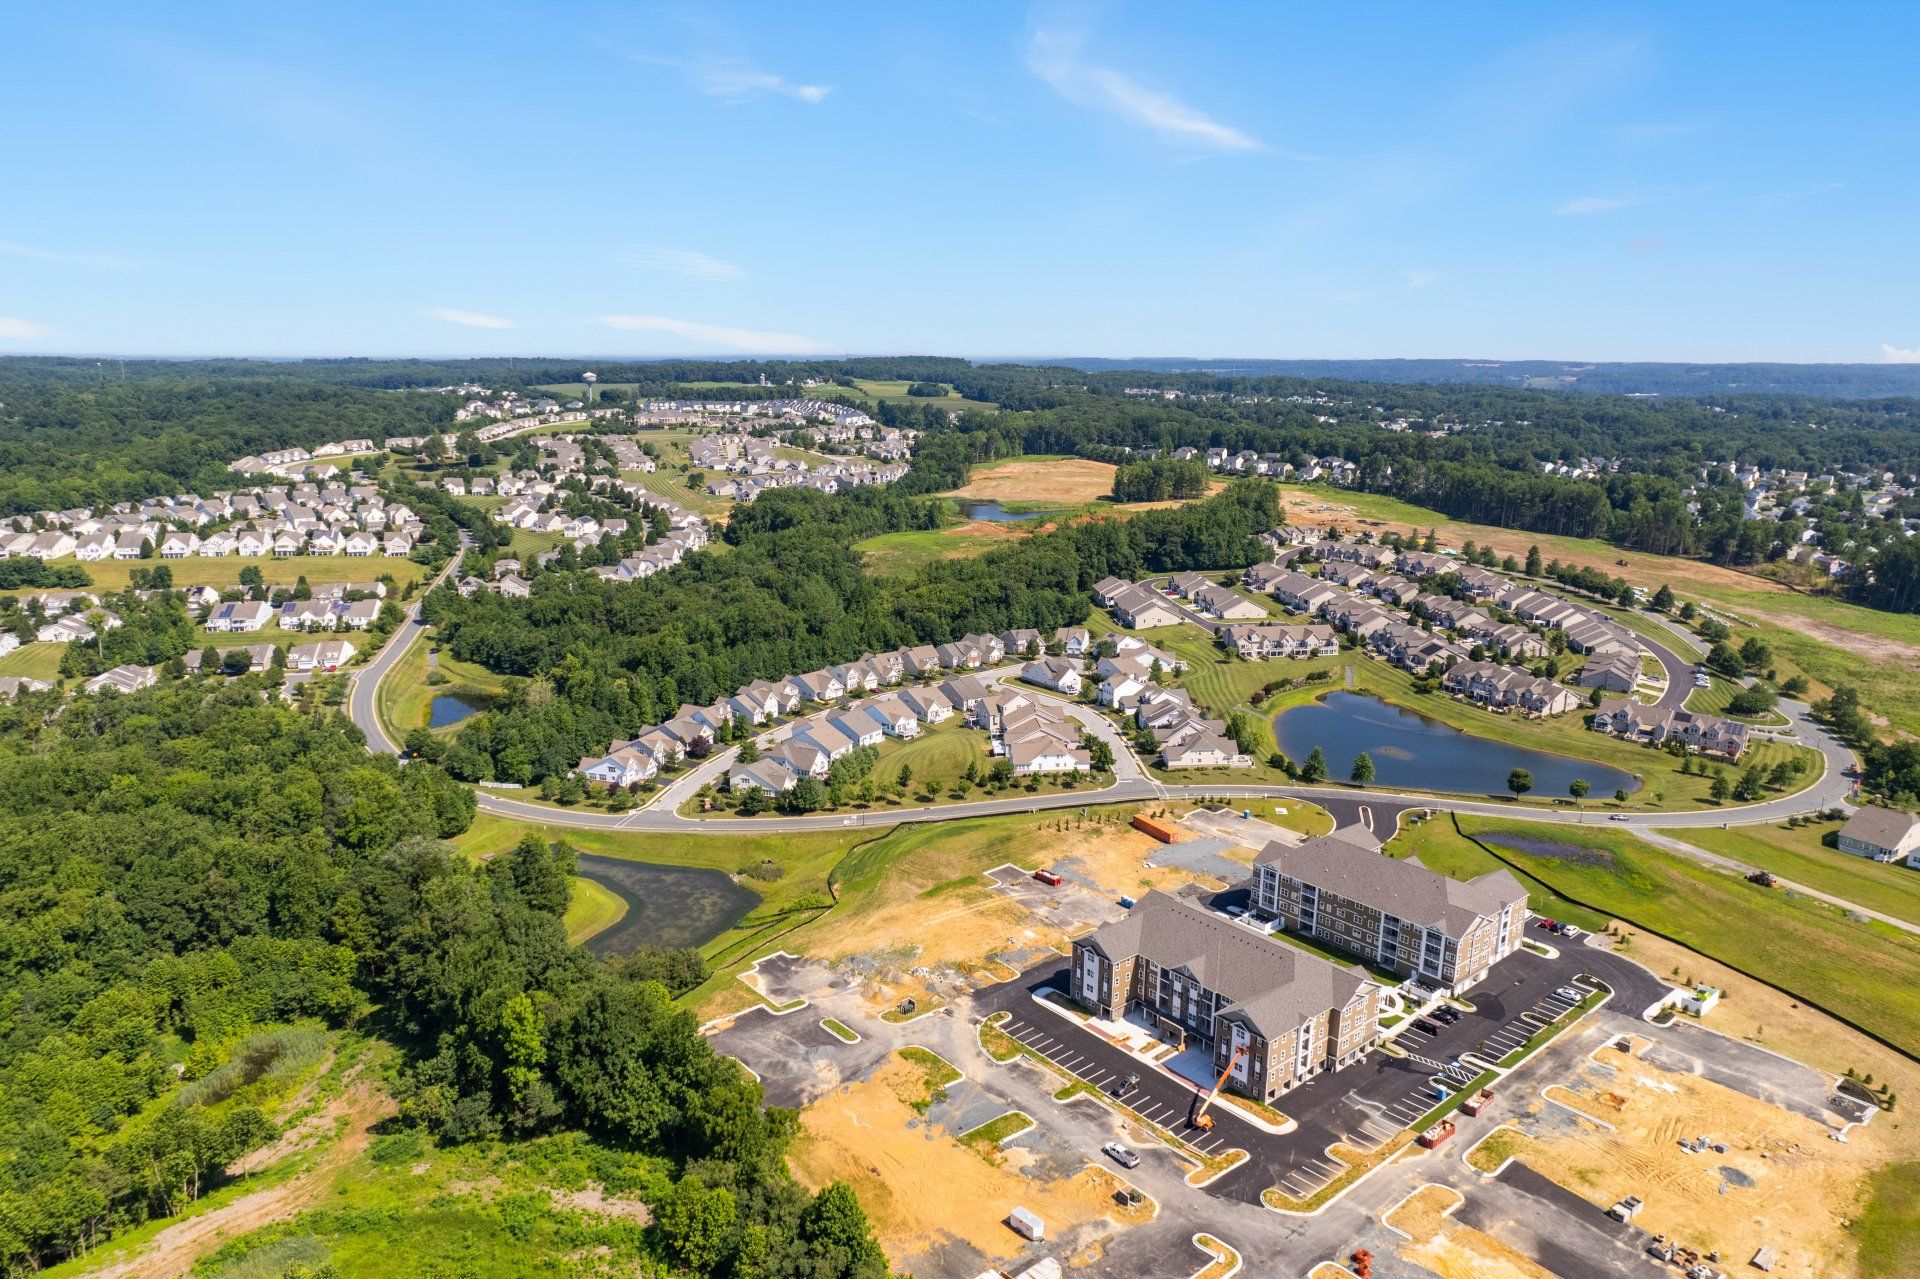
The use of drones for real estate technology has taken the world by storm in recent years. Today, aerial images are an excellent way to showcase several unique elements of the property, all at once. In fact, it’s particularly useful for properties with beautiful natural features, outbuildings, or ponds, creeks, and pastures. As a general rule, customers will appreciate at least one aerial image to help them get a feel for the layout of the property.
The Don’ts of Real Estate Photography
Just like there are some sure-fire dos to adhere to in the world of real estate photography, there are also some very important don’ts. These are as follows:
1. Don’t Leave Personal Items in the Frame
Before you photograph the home , remove all personal items from the space. This includes family portraits, knick-knacks, and anything that makes the image look cluttered. Not only does this contribute to a clean, clear appearance, but it also helps prepare the home for showings and, finally, the sale.
Remember: Good real estate photography is meant to help a buyer envision him or herself in space.
2. Don’t Photograph a Dirty Space
This seems to go without saying, but you’d be surprised how many people photograph dingy, dirty spaces. To make photos as appealing as possible, give the home a deep-clean before the shoot begins.
By the time the space is photographed, it should be free of clutter, obvious stains, dishes in the sink, and anything else that could turn buyers off or portray the home in anything less than the best possible light. To make sure you’ve checked every box, follow this ultimate checklist to make the most of your real estate shoot :
- Mow and rake the grass
- Wash, sweep and dry all pavement
- Remove: Trash cans, any lawn equipment, or vehicles
- Clean and open your pool. Remove the pool cleaner.
- Make sure all exterior lights work and replace bulbs as needed.
- Checking all lights and then turning them all on
- Cleaning all windows, inside and out
- Dusting every surface
- Place towels on all towel racks
- Remove rugs, open floors make the space look bigger
- Tidy closets, although most smaller closets are not photographed
- Remove magnets from the fridge
- Edit artwork
- Hide: trash cans, toiletries, magazines, religious artwork, family photos, hanging kitchen towels.
- Make all the beds with pride
3. Don’t Leave Cars in the Driveway
Just like leaving clutter or personal items on interior surfaces makes a room look subpar, leaving cars in the driveway diminishes the quality of photography and makes the views of the home less attractive.
With this in mind, remove the vehicles from the driveway before the shoot begins. A clear driveway opens the view and allows buyers to focus on the most crucial element in the shot – the house.
4. Don’t Assume You can Edit Anything Out
Lots of photographers cut corners when setting up their shots simply because they assume they can go back and edit everything to perfection at a later date. Unfortunately, this is putting the carriage before the horse. Create higher-quality images by taking the time on the front-end to set them up. Not only does this cut down on the amount of time you’ll spend editing, but it also helps ensure a top-quality finished product.
5. Don’t Include Pets
Some people love their furry friends. Some people, though, want nothing to do with them. Because of this, it’s best to leave pets out of real estate listing photos. It’s also wise to remove all pet accessories from photos, including litter boxes, toys, and beds.
Sell Your Listing Faster With Professional Real Estate Photography
You want your listings to perform as well as possible, and top-quality real estate photography is the key to making it happen. By adhering to the dos and don’ts on this list, you can produce higher-quality, more attractive images that sell your listings faster.
Additionally, beautiful real estate photos draw more attention to a listing, which can help drive up the asking price and ensure the home fetches top-dollar.
The post The Do’s and Don’ts of Real Estate Photography appeared first on Hometrack Real Estate Marketing .
Want us to photograph you property? We would love to hear from you!
We will get back to you as soon as possible.
Please try again later.


Real Estate Photography Blog Categories


CONTACT US
Brought to you by
1 Texas Station Court
Suite 130
Timonium, MD 21093
All Rights Reserved | ©2025 Hometrack Real Estate Marketing | Privacy Policy | Powered By Craig Westerman, Victor Ivan Coll , and Juno Digital Media


